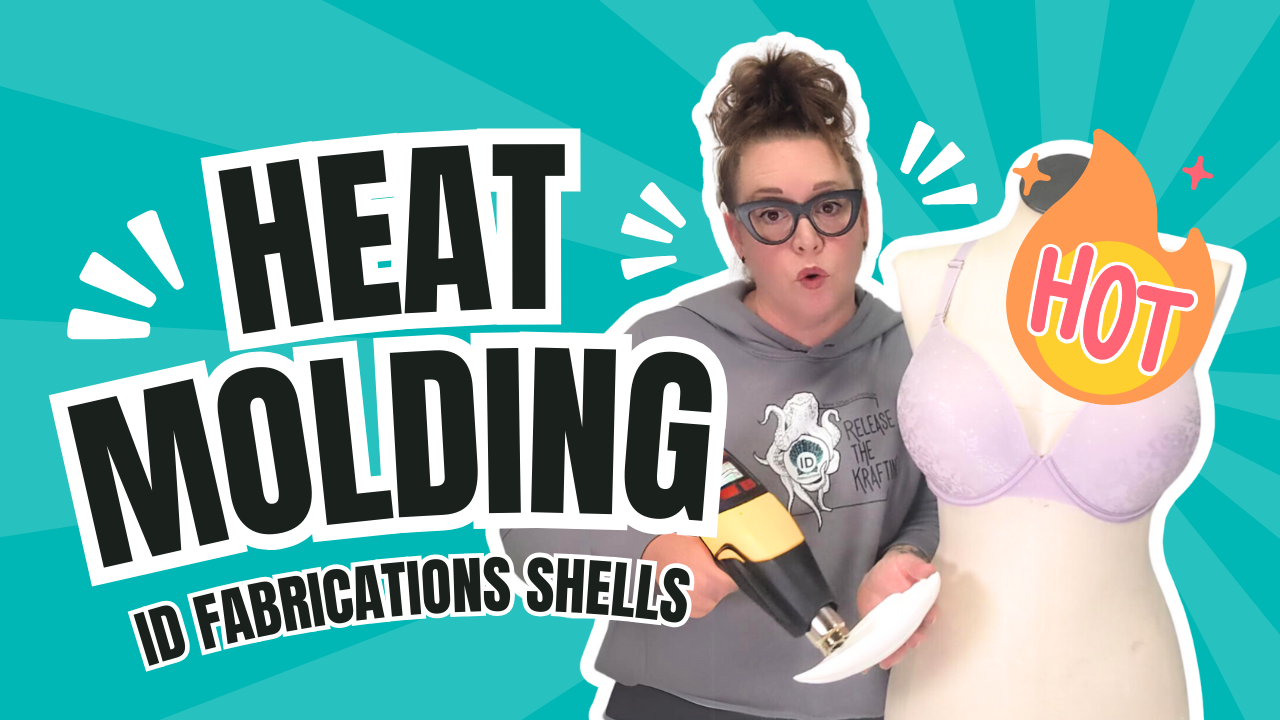
How to Heat Mold ID Fabrications Plastic Shells for a Perfect Custom Fit
If you’re looking to make your DIY mermaid costume, crown, or any other underwater-inspired accessory, molding our plastic shells is a breeze with a little heat! Follow this step-by-step guide to create a custom fit that suits your project perfectly. Let’s dive in!

Step 1: Understanding Pre-shaped Designs
Most ID Fabrications shells come slightly pre-shaped with a gentle concave design, making them adaptable for various projects. But there are a couple of exceptions! Our ‘Smalls’* and Barnacle Sets arrive flat to allow for full flexibility in design. All our shells, no matter the shape, can be heat molded to fit just right.
Pro Tip: Think about the specific curve you want before you start. A tighter curve can be useful for tops, while a broader shape might work best for crowns or hair accessories.
Step 2: Choosing Your Heat Source
The ideal tool for heat molding is a heat gun, but a hair dryer set on high heat will also do the trick! Medium heat is preferred since it gives you more control, letting you mold the shells without overheating them.
Important: Never leave the heat focused on one area for too long. Overheating can cause the shell to burn or warp in unexpected ways.

Step 3: Heat It Up Slowly and Steadily
Once your heat source is ready, begin applying heat gradually. Use a slow, steady pressure with your full hand, applying even force to the shell’s surface. Going slow is essential for precise molding without causing any damage.
Quick Tip: Maintain a circular motion while heating! This keeps the heat distribution even and prevents potential burn marks.
Step 4: Wear Heat Protection
Safety first! The shell becomes hot while molding, so make sure to wear heat gloves, or, if you don’t have gloves, use a thick towel as a buffer. This small step goes a long way to ensure comfort and safety as you mold.

Step 5: Take Your Time for the Perfect Shape
Continue heating in small, controlled circles and shaping gently until the shell has the curve you want. Remember: a little patience goes a long way here. The shell will become pliable with the right amount of steady heat and pressure, so take your time to avoid cracks or warping.
And if you make a mistake? Don’t worry! We’ve all been there. Cracked, broken, or burned shells are not the end of your project—just let us know if you need a little extra help.
Final Notes: When in Doubt, Reach Out!
We’re here to support your crafting journey, so if you run into any issues or have questions about heat molding, feel free to leave a comment or check out our other tutorials! With a bit of practice, you’ll be shaping like a pro.
Now go and Release the Kraftin’ spirit with your heat-molded shells!
Heat molding opens up endless possibilities for customizing your DIY designs. Let us know how it goes, and don’t forget to share your projects—we can’t wait to see what you create! Happy crafting!


