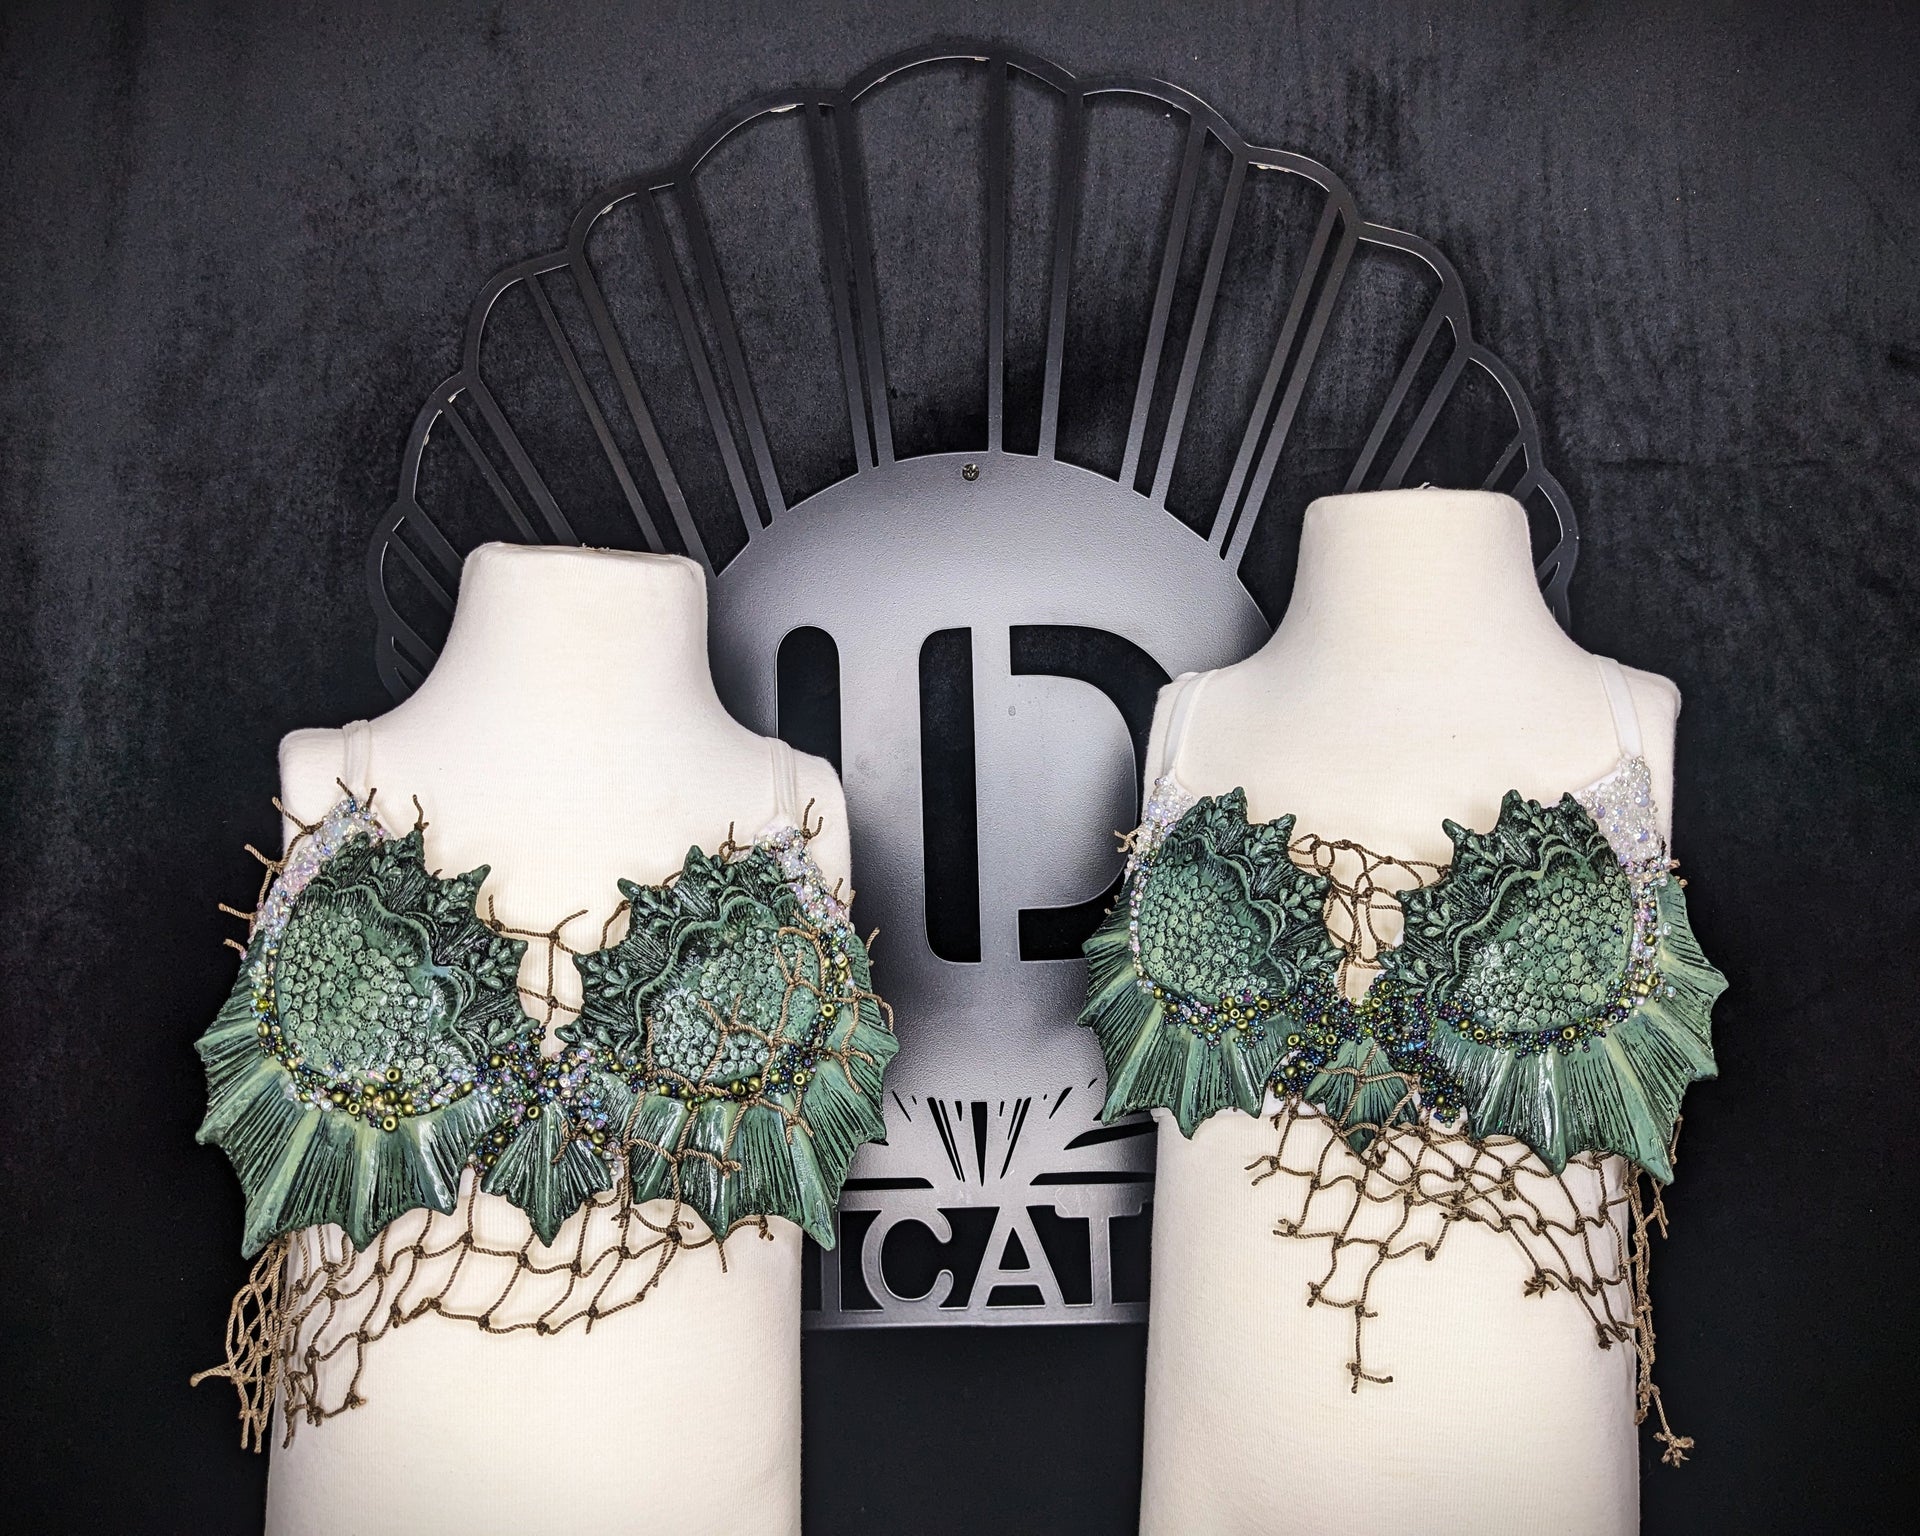
Hey craft lovers! Ready to dive deep into your creative ocean? Let’s make some wickedly cool, Creature from the Black Lagoon-inspired guppy tops. These are perfect for all you mermaid souls out there wanting to add a little underwater fantasy to your vibe. Grab your supplies, and get ready to Release the Kraftin’ !!!

Materials You’ll Need:
-
- Small Shoreline Set (available at IDFabrications.com)
- Small Trifin Set
- Rustoleum 2x Ultra Cover Spray Paint in Moss Green
- Craft paints in Aloe, Thicket, and Wrought Iron
- Heat gun
- E6000 glue
- Youth base top (we’re using a lightly lined sports bra for structure)
- Fishnet fabric
- Flat-back pearls, green and clear iridescent seed beads


Step 1: Heat Shaping the Shells
First up: shaping those fabulous shells. Grab your heat gun, set it to medium, and let’s get the shells nice and pliable. Move the heat gun in slow, circular motions on the back of the shell until you can feel it softening—don’t rush this! We want smooth, even heat for perfect shaping. Once soft, gently press the shell to shape it.

If you’re attaching the shells to a top, you’ll need to create a concave back. Same circular heat motion here but focus on the back. Pro tip: heating from the back avoids damaging the front details. This part is all about patience, so take it slow and steady until you’re happy with the shape.
Step 2: Painting the Base
Once you’ve got the shells shaped, it’s time to paint! For a sturdy, waterproof base, we love Rust-Oleum’s 2x Ultra Cover in Moss Green. Spray in light, even coats—about 2-3 layers should do the trick. Make sure each layer dries completely before applying the next.

The key here? Light coats—don’t rush! Once you’ve got full coverage and the shells are dry, you can move on to the fun part—details!
Step 3: Adding the Details
Now for the magic. Using craft paints in Aloe, Thicket, and Wrought Iron, start with the darkest color. Dry-brush Wrought Iron over the shells, then wipe it with a paper towel to create depth in the cracks. Repeat the process with Thicket and finish by highlighting the ridges with Aloe.

Once your masterpiece is dry, seal everything with a few light coats of Rustoleum 2x Clear Gloss. Again, 2-3 coats will protect all that hard work, making it waterproof and glossy.
Step 4: Prepping the Top
While your shells dry, grab your base top and start sewing on some fishnet fabric for extra texture and dimension. I machine-sewed large chunks of fishnet across the top for a cool, “just crawled out of the lagoon” vibe.
Step 5: Gluing the Shells
It’s glue time! Using E6000 (trust me, it’s a crafter’s best friend—waterproof and flexible), apply a generous amount to the back of the shells. If you think you have enough glue, add a little more! For the smaller shells, I like to score the backs with a craft knife for extra grip.

Once you’ve got the shells in place, it’s time to go wild with details! I added flat-back pearls, green seed beads, and clear iridescent seed beads to give it that sparkling underwater effect. Use E6000 to secure the beads as well.

Step 6: Finishing Touches
After everything’s dry, grab a clean, dry toothbrush and gently scrub off any loose beads. Then, it’s time for the water test! Give your top a quick rinse to make sure everything stays in place.
Conclusion
And there you have it—your very own Creature from the Black Lagoon-inspired guppy top! Now you’re ready to make a splash wherever you go. Thanks so much for crafting with me, and don’t forget to share your creations! If you want more detailed tutorials, head over to our YouTube channel or drop your questions in the comments below.
Happy crafting, and until next time—Release the Kraftin’!


